Raspberry Pi, Nagios and Nginx monitoring for
Warning : This article has been automatically translated by Bing Translate
After a series of articles on monitoring tools (Monitorix, Zabbix, RASP-control, RPi-Monitor), a new article on a known tool : Nagios.

If you are using apache, You can go through the repository with the command
apt - get install nagios3
But if you do not want to have a web server relatively heavy, and as I am a fan of Nginx, then you will need to follow these instructions :
- Update the system
apt-get update && apt-get upgrade -y
- Install Nginx with PHP support as explained here.
- Install the tools for the installation of Nagios
apt-get install libperl-dev libpng12-dev libgd2-xpm-dev build-essential php5-gd libgd2-xpm
- Download Nagios
wget http://prdownloads.sourceforge.net/sourceforge/nagios/nagios-4.0.2.tar.gz tar zxvf nagios-4.0.2.tar.gz cd nagios-4.0.2
- The installation will be in need of a user and a group Nagios
adduser--system--no-create-home--disabled-login--group nagios usermod-a-G nagios www-data
It adds the Group Nagios secondary group to the user www - data
- It must also be a user and group for the launch of the commands
groupadd nagcmd usermod-G nagcmd nagios usermod-a-G nagcmd www-data
It adds the Group nagcmd secondary group to the user www - data
- You can start the configuration
./configure--prefix/opt/nagios/nagios \
--sysconfdir = / etc/nagios \
--with-nagios-user=nagios \
--with-nagios-group=nagios \
--with-command-user=nagios \
--with-command-group=nagcmd
- Start the compilation
make all
- Installer les différents éléments, puis les fichiers de démarrage, de ligne de commande et de configuration
make install make install-isn't it && make install-commandmode && make install-config cp functions/etc/nagios/
I copy the file functions required for the startup script in /etc/nagios. Moreover you must modify /etc/init.d/nagios replacing
. /etc/rc.d/init.d/functions
by
. /etc/nagios/functions
- Install the configuration examples
make install-config
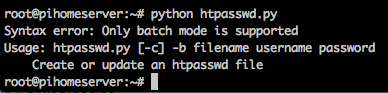
- The use of Nginx requires to go through a python script to manage the passwords. The Google friend gave me multiple results but the only convincing :
cd wget http://Trac.edgewall.org/export/10791/trunk/contrib/htpasswd.py
The result :
 So for our installation : user nagiosadmin (It is used in the default files), his password password (change of course !)
Python htpasswd.py-c-b /etc/nagios/htpasswd.users admin password
- If you have a special email address, It is in the file /etc/Nagios/objects/contacts.cfg what it will take to change it.
- For your default logs that is defined in the file /etc/Nagios/Nagios.cfg. The value is /opt/Nagios/Nagios/var/Nagios.log. Practice problems.
- To verify that your configuration is correct :
/opt/nagios/nagios/bin/nagios v /etc/nagios/nagios.cfg - Installer FCGI
apt-get install spawn-fcgi fcgiwrap
- Configurer nginx avec le fichier suivant :
server { listen 8080; server_name nagios; access_log /var/log/nginx/nagios.access.log; error_log /var/log/nginx/nagios.error.log info; root / opt/nagios/nagios/share; index index.php index.html; auth_basic "Nagios restricted access"; auth_basic_user_file /etc/nagios/htpasswd.users; location / stylesheets { alias / opt/nagios/nagios/share/stylesheets; } location / nagios/js { alias / opt/nagios/nagios/share/js; } location/nagios/stylesheets { alias / opt/nagios/nagios/share/stylesheets; } rewrite ^ / nagios/images /.(.*)$ /images / $1 break; rental ~ .cgi$ { root/opt/nagios/nagios/sbin; rewrite ^ / cgi-bin/nagios3 /.(.*)$ /$1; rewrite ^ / nagios/cgi-bin /.(.*)$ /$1; include/etc/nginx/fastcgi_params; fastcgi_param AUTH_USER $remote_user; fastcgi_param REMOTE_USER $remote_user; fastcgi_param SCRIPT_FILENAME/opt/nagios/nagios/sbin$ fastcgi_script_name; fastcgi_pass unix:/var/run/fcgiwrap.Socket; } location ~ .php$ { include/etc/nginx/fastcgi_params; fastcgi_pass unix:/var/run/PHP5-fpm.sock; } } - Enable configuration
ln-s/etc/nginx/sites-available/nagios/etc/nginx/sites-enabled/nagios
- Restart Nginx
service nginx restart
Here you are with your Nagios online ! Appointment with your browser to the port of your configuration. You will need to enter the login nagiosadmin and password you used during the installation :
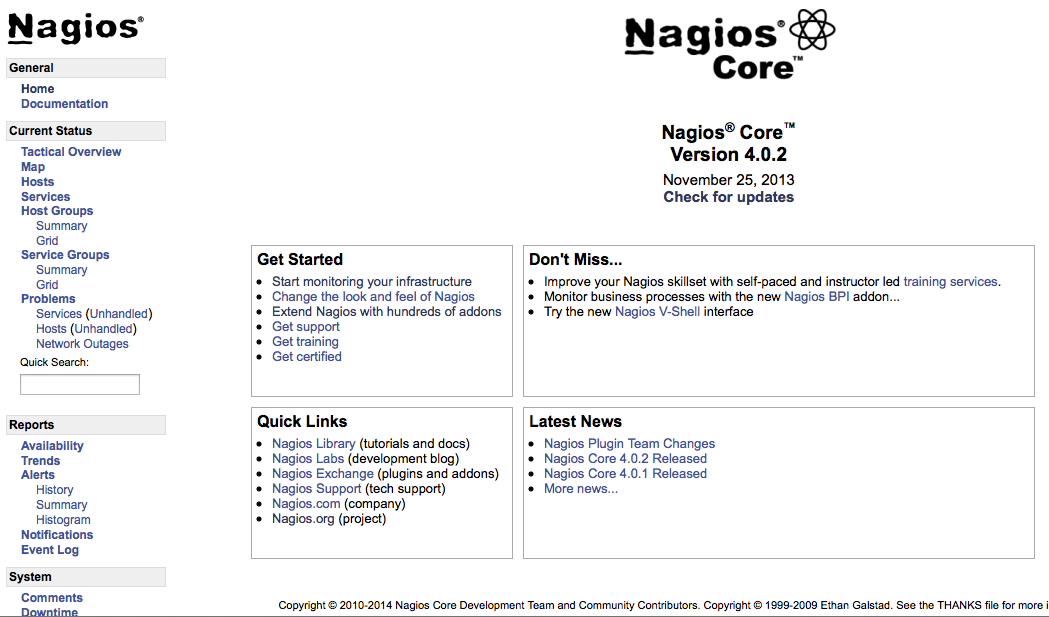
Bonne surveillance 🙂


