Easily install the Camera Raspberry Pi Pi
Warning : This article has been automatically translated by Bing Translate
Danger : This article has been automatically translated by Bing Translate
Caveat : This article has been automatically translated by Bing Translate
If you just invest a few euros for the camera on the Raspberry Pi module or if like me, a big red snowman filed at the foot of the tree a small box, then it's time to plug the module and test.
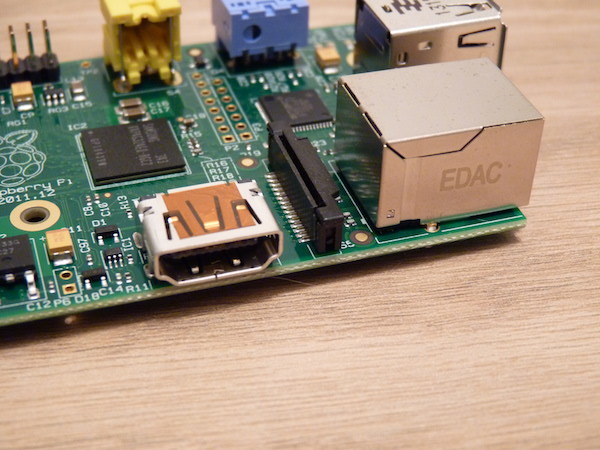
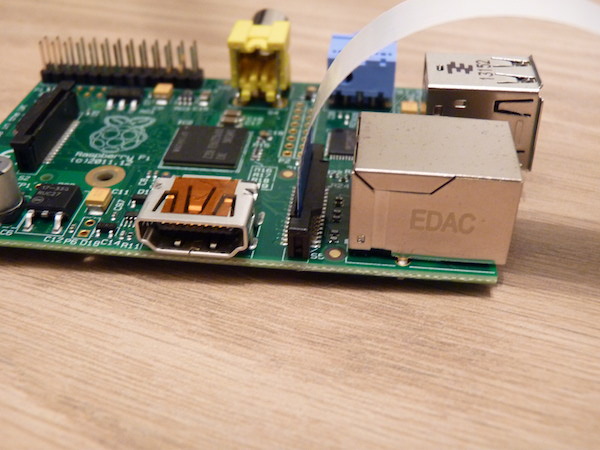
For connection, This is happening on a connector CSI, specially designed for cameras and offers high. On the Raspberry is between the Ethernet port and HDMI port that ca is going.
For information, the other port which it looks like it is a DSI port to connect an external display.
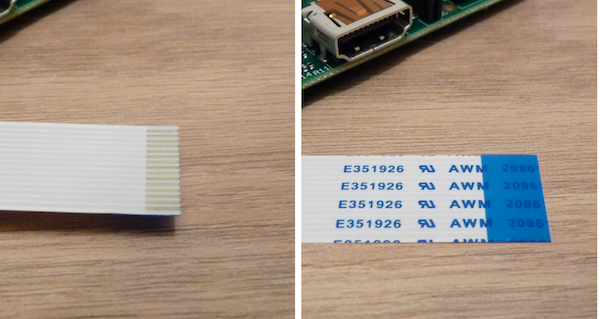
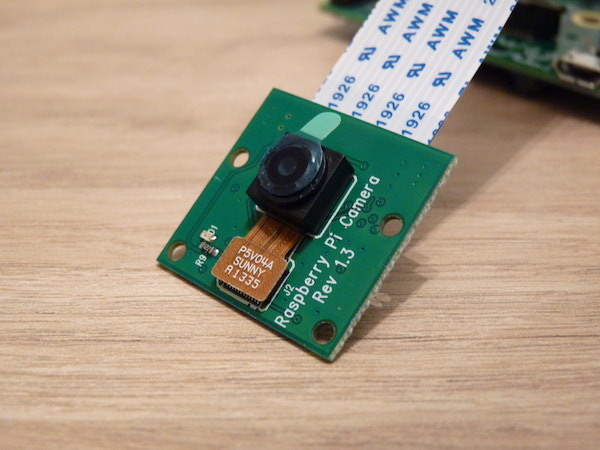
Side camera cable to both sides including one with pins in aluminium.
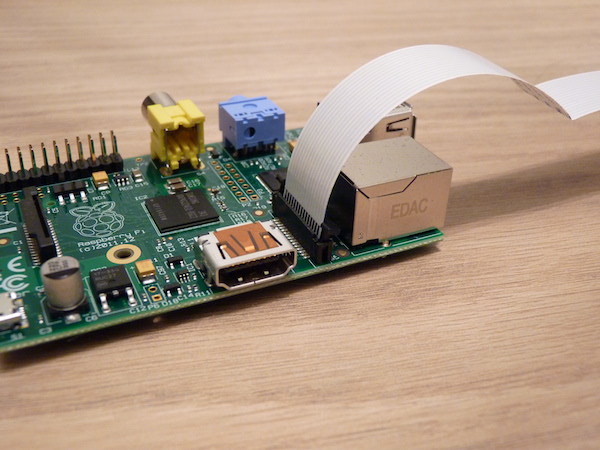
It is this face with aluminium connectors that must be directed to the HDMI port.
You open the connector, Insert the cable and close the connector (It forces a little).
Now for the configuration, you log into SSH on the Raspberry
- Update the system
apt-get update && apt-get -y upgrade
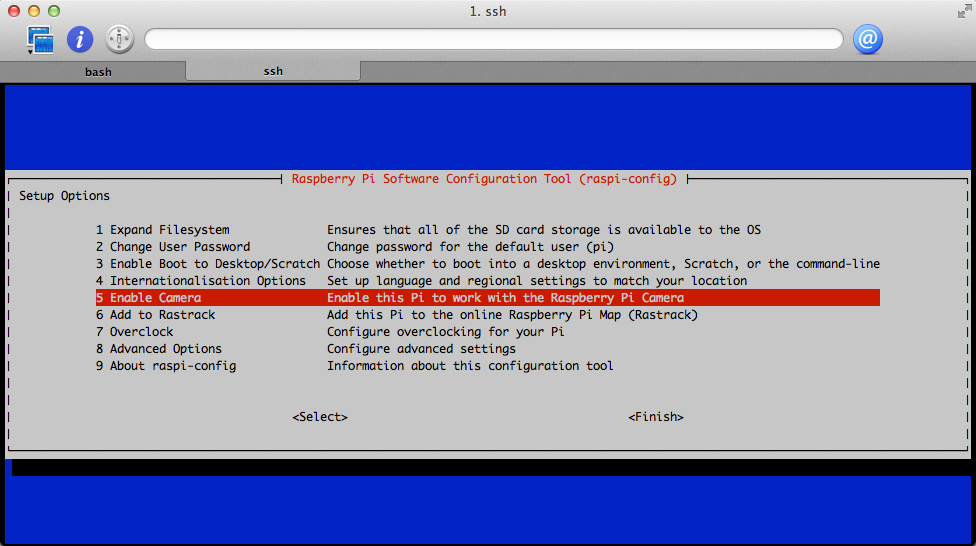
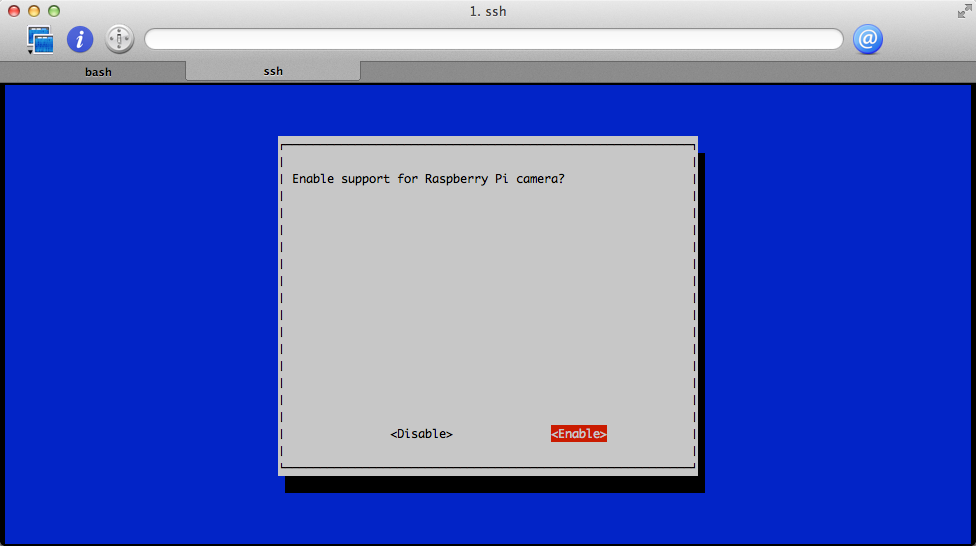
- Launch the utility raspi-config and go to the option 5 :
- Restart the Raspberry
reboot
- You can now take pictures with the command raspistill or videos with the command raspivid. To simply capture an image :
raspistill o image.jpg
Here's an image taken with the default settings (the evening with low lighting)
Have fun !
